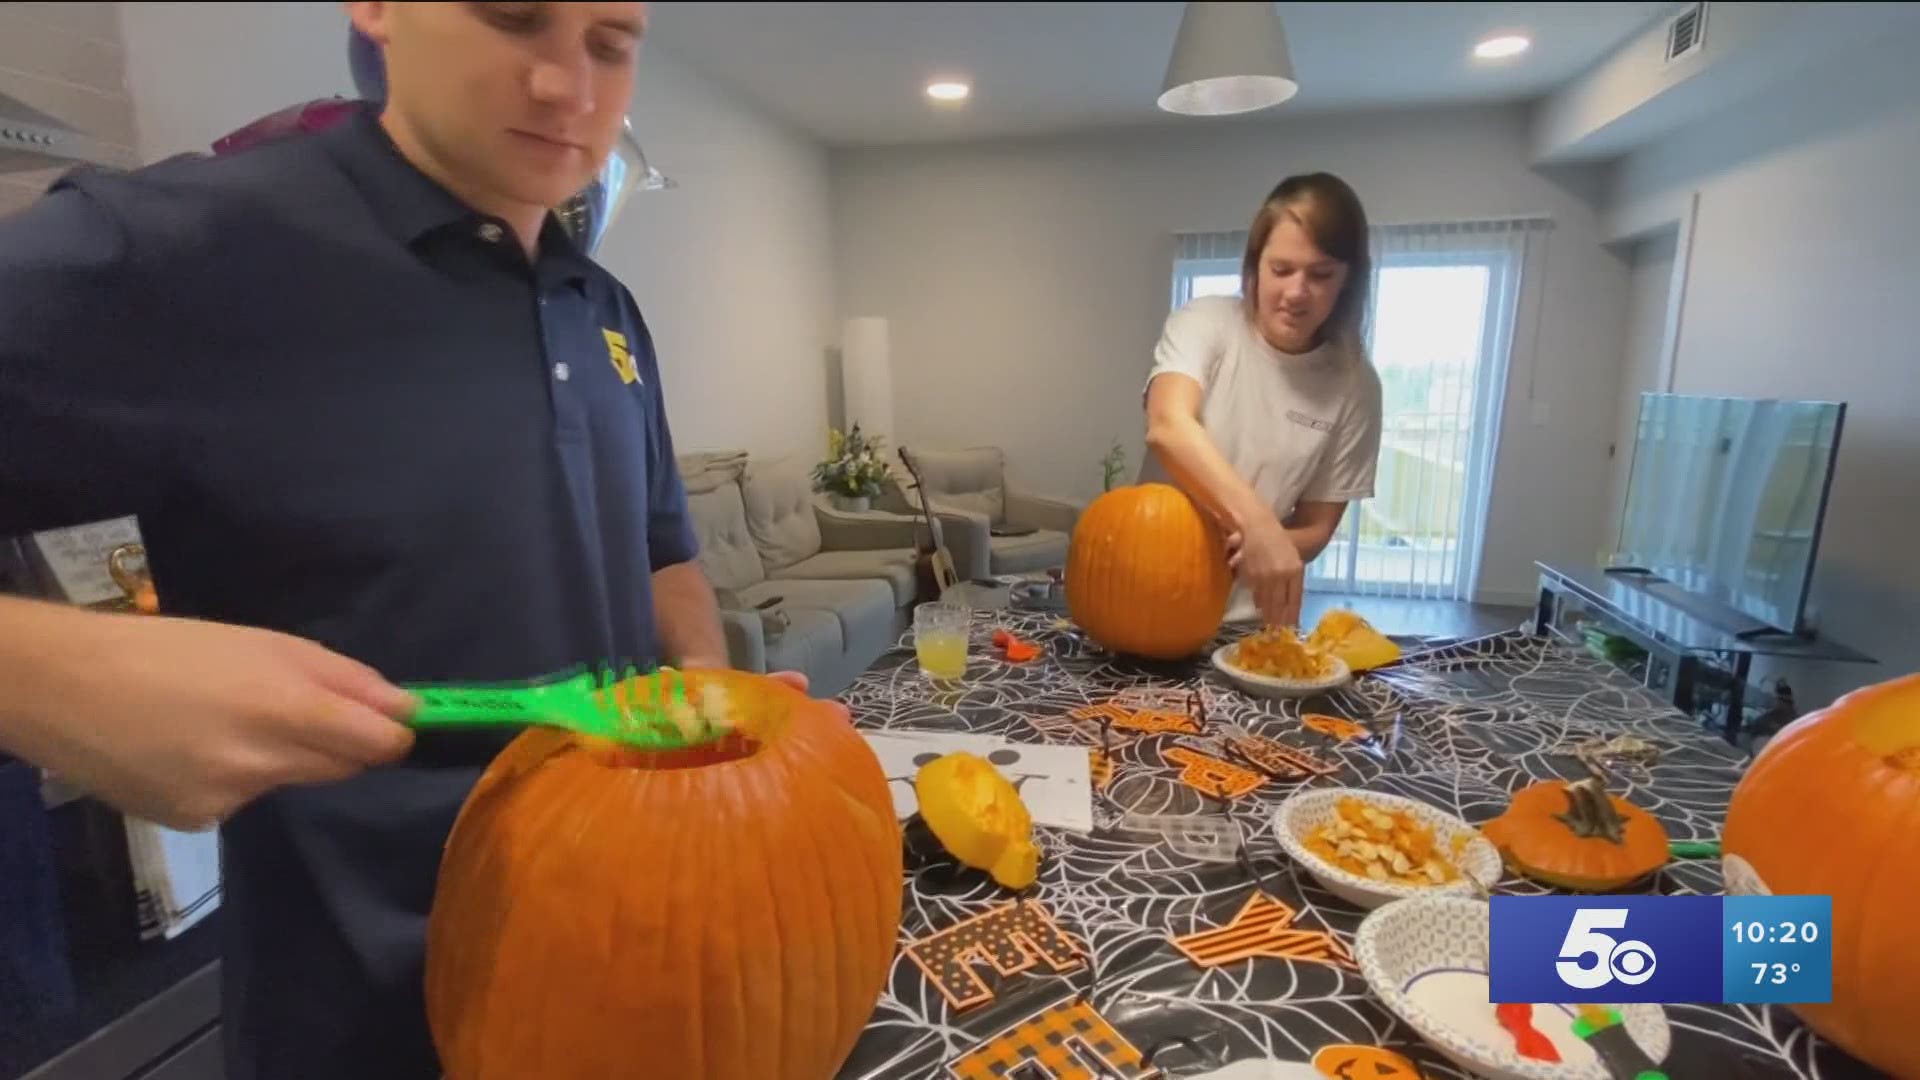
With Halloween coming up next weekend, many people will be carving pumpkins. So this week on Adventure Arkansas, we are getting spooky and showing you some of the best carving tricks.
First, you are going to want to make sure you have a carving kit! You can pick up the kits for less than $5 at the store and most include stencil designs as well as the cutting tools.
Next, the fun starts. Make a hole big enough on the top part that you'll be able to reach your hand in. We found that tracing it first helped a lot. You can also cut a "tooth" in the pumpkin so that you know which way the lid will sit flush on top when you're done.
Once you pop the top off, it's time to scoop out some guts. And no, I can assure you the inside does not smell good.
You can use a spoon or scraper to get the seeds out, or you can just use your hands. Whichever works best for you! Either way, be prepared to get pumpkin guts on yourself! Be sure and save the seeds though, because next week we will show you how to cook those into a tasty treat!
When it's finally time to carve the face, you can life easier by taping the stencil to the front of the pumpkin so it doesn’t move when you are trying to use the tracer tool to stencil the design before cutting the face itself.
Poke the holes and then you are ready to cut away! Stay as close to the stencil you did for best results... or risk messing up on the book design and giving up and free handing a basic face like Michelle did... it's okay Michelle, not everyone can be as talented as me (kidding of course).
Once your pumpkin is done, there are a couple of tricks you can use to make its life last a bit longer.
First, use cinnamon to make the lantern double as an air freshener. And also you can apply Vaseline to the regions you cut out to help keep it moist and not rot before Halloween arrives.
And finally, put some candles inside, turn the lights off, and enjoy your masterpiece!
Carving the pumpkins where you live, I'm 5NEWS meteorologist Dax Clark.
Sponsored by: Adventure Subaru

